I hope this pictorial can guide you through the process of using Microsoft Deployment WorkBench (Previously known as BDD) to deploy Windows XP. I will be uploading another post to use Windows Deployment Services in Windows Server 2008 together with this deployment workbench to deploy Windows XP, Vista, 2008. Stay tuned!
- Download Microsoft Deployment Workbench from the link before and install it onto a 32bit version of Windows 2003 SP2 machine.
http://www.microsoft.com/downloads/details.aspx?FamilyId=3BD8561F-77AC-4400-A0C1-FE871C461A89&displaylang=en - After you have installed Microsoft Deployment Workbench, expand Information Center and select Components. Select Windows Automated Installation Kit from the component list. Then click on Download button on the Details pane.

- Install Windows Automated Installation Kit when the download completes.

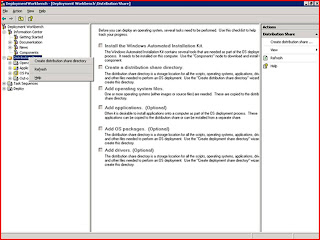
- Proceed to create distribution share directory after AIK installation. Note: Do not create on System Drive if possible.
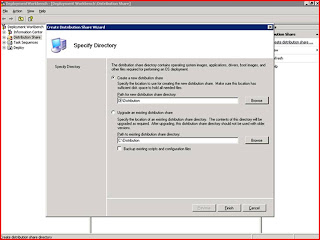
- Create the Distribution directory on a separate drive.
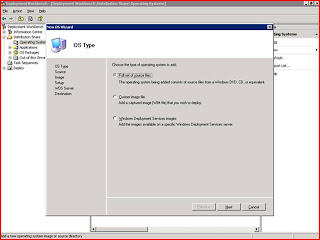
- Now let’s add Windows XP source files. Be sure to add the latest releases.
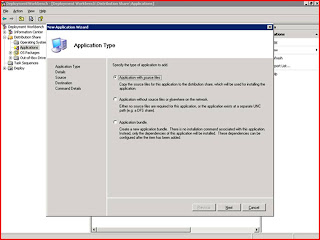
- Let’s add Applications such as Microsoft Office, Adobe Reader, etc to be installed during Windows XP deployment.
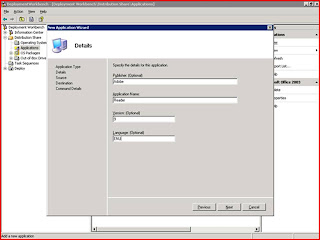
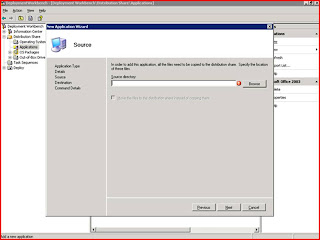
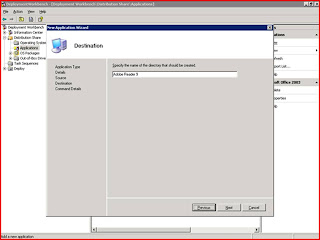
- Steps 8 – 11 demonstrates adding Adobe Reader 9 to your deployment.
- Locate the source files for the Application.
- Create a friendly name to easily identify the application.
- Enter the command line to install the application in silent mode.

- Next, we need to create a Task Sequence for the Windows XP Installation.
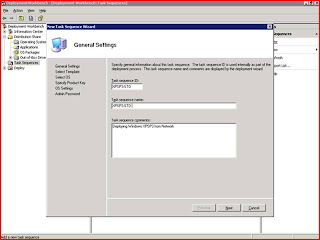
Steps 12-17 guide you through creating a Task Sequence for installing Windows XP on your client computer.
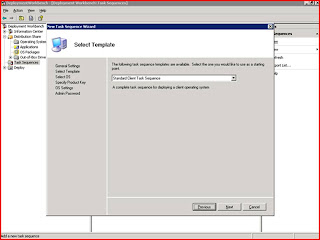
Create a task sequence for your installation and give it a identity. - Select Standard Client Task Sequence.
- Full in the OS setting information.
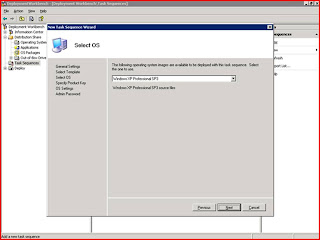
- Select the Windows XP source files that you uploaded earlier.
- Key in the Product Key.

- Key in the local administrator password and click Finish.

- Finally, we need to create a Deployment Point for the Task Sequence.
Select Lab or Single-server deployment.
- Give it a Deployment point name.

- Allow users to select additional applications on Upgrade.

- Do not Ask if an imagine should be captured.

- Do not Ask user to set the local Administrator Password.

- Do not Ask user for a product key.

- Click next to create the network share.

- Do not save data and settings.

- The whole sequence will be completed once the Update completes.

